Overview
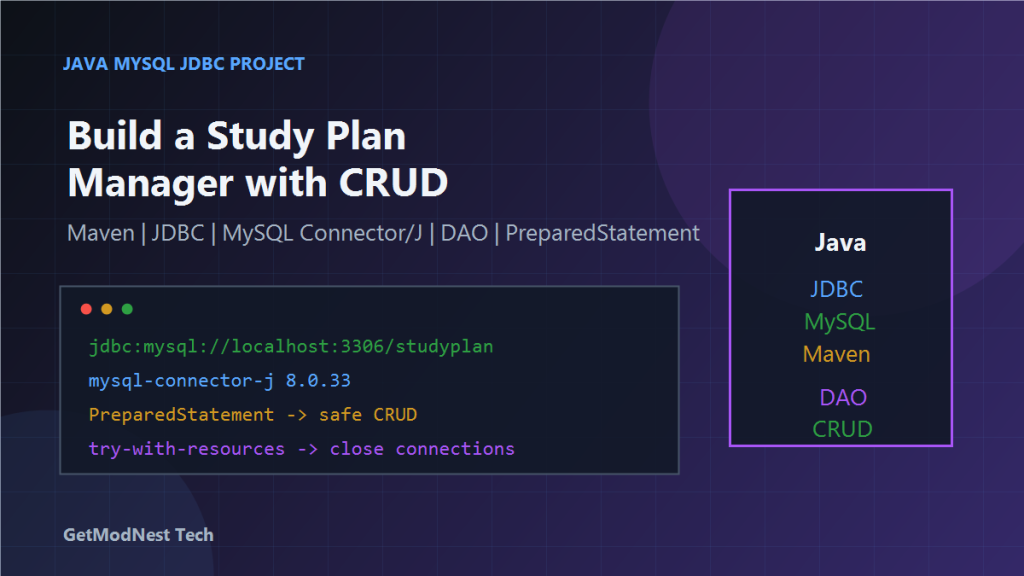
This article documents a small Java project that connects to a MySQL database through JDBC and implements basic CRUD operations for a study plan manager.
The goal was to use Java code in IntelliJ IDEA to connect to a MySQL database, create a database and table, insert study records, query study progress, and summarize the development process.
The project involved IntelliJ IDEA, Maven, MySQL, Java JDBC, MySQL Connector/J, DAO-style database operations, prepared statements, and resource management with try-with-resources.
Technology Stack
- IDE:
IntelliJ IDEA - Build tool:
Maven - Database:
MySQL - Programming language:
Java - Database access:
JDBC - MySQL JDBC driver:
mysql-connector-j
Preparation
Before writing code, the following items needed to be ready:
- MySQL service installed and running
- MySQL username and password available
- target database created or allowed to be created by the program
- IntelliJ IDEA project created as a Maven project
- Java SDK configured correctly
The MySQL service should be reachable locally, usually through localhost:3306.
Step 1: Create a Maven Project in IntelliJ IDEA
In IntelliJ IDEA, create a new Maven project and confirm that the project has a valid pom.xml file.
The pom.xml file is where the MySQL JDBC driver dependency is added.
Step 2: Add the MySQL JDBC Driver Dependency
Add the MySQL Connector/J dependency to pom.xml:
<dependency>
    <groupId>mysql</groupId>
    <artifactId>mysql-connector-java</artifactId>
    <version>8.0.33</version>
</dependency>
For newer Maven coordinates, this form can also be used:
<dependency>
    <groupId>com.mysql</groupId>
    <artifactId>mysql-connector-j</artifactId>
    <version>8.0.33</version>
</dependency>
After adding the dependency, reload the Maven project.
Step 3: Configure the JDBC Connection URL
For MySQL Connector/J 8.x, the connection URL should include a proper character set, time zone, and SSL settings.
jdbc:mysql://localhost:3306/studyplan?useUnicode=true&characterEncoding=utf8&serverTimezone=Asia/Shanghai&useSSL=falseCommon parameters include useUnicode=true, characterEncoding=utf8, serverTimezone=Asia/Shanghai, and useSSL=false.
Step 4: Design the Database
Create the database:
CREATE DATABASE IF NOT EXISTS studyplan;For better character support, use utf8mb4:
CREATE DATABASE IF NOT EXISTS studyplan
DEFAULT CHARACTER SET utf8mb4
DEFAULT COLLATE utf8mb4_unicode_ci;
Step 5: Design the Study Plan Table
The notes described a study plan table with the following fields:
id: auto-increment primary keystudy_date: study datetopic: study topiccontent: detailed contentstudy_time: study durationprogress: progress statusupdate_time: automatic update timestamp
CREATE TABLE IF NOT EXISTS study_plan (
    id BIGINT PRIMARY KEY AUTO_INCREMENT,
    study_date DATE NOT NULL,
    topic VARCHAR(200) NOT NULL,
    content TEXT,
    study_time DECIMAL(5,2),
    progress VARCHAR(50),
    update_time TIMESTAMP DEFAULT CURRENT_TIMESTAMP ON UPDATE CURRENT_TIMESTAMP
) ENGINE=InnoDB DEFAULT CHARSET=utf8mb4;
Step 6: Create a Database Connection Utility
A common project structure is to create a separate utility class for database connections.
import java.sql.Connection;
import java.sql.DriverManager;
import java.sql.SQLException;

public class DatabaseConnection {
    private static final String URL = "jdbc:mysql://localhost:3306/studyplan?useUnicode=true&characterEncoding=utf8&serverTimezone=Asia/Shanghai&useSSL=false";
    private static final String USER = "root";
    private static final String PASSWORD = "your_password";

    public static Connection getConnection() throws SQLException {
        return DriverManager.getConnection(URL, USER, PASSWORD);
    }
}
In MySQL Connector/J 8.x, manually calling Class.forName("com.mysql.cj.jdbc.Driver") is usually not required.
Step 7: Create the Data Model
Create a Java class to represent a study plan record:
public class StudyPlan {
    private Long id;
    private String studyDate;
    private String topic;
    private String content;
    private Double studyTime;
    private String progress;

    // getters and setters
}
In a real project, LocalDate is usually better than String for studyDate.
Step 8: Implement DAO-Based CRUD Operations
Create a DAO or manager class, such as StudyPlanManager.java, to isolate database operations.
The class should include operations such as inserting a study plan, querying records, updating progress, deleting a study plan, and listing all records.
Step 9: Use PreparedStatement to Prevent SQL Injection
String sql = "INSERT INTO study_plan (study_date, topic, content, study_time, progress) VALUES (?, ?, ?, ?, ?)";

try (Connection conn = DatabaseConnection.getConnection();
     PreparedStatement ps = conn.prepareStatement(sql)) {

    ps.setString(1, "2025-11-25");
    ps.setString(2, "Java JDBC");
    ps.setString(3, "Practice MySQL connection and CRUD operations");
    ps.setDouble(4, 2.5);
    ps.setString(5, "In Progress");

    ps.executeUpdate();
}
Using PreparedStatement avoids SQL injection risks and handles escaping and type binding more safely.
Step 10: Query Data and Map Results
String sql = "SELECT id, study_date, topic, content, study_time, progress FROM study_plan ORDER BY study_date DESC";

try (Connection conn = DatabaseConnection.getConnection();
     PreparedStatement ps = conn.prepareStatement(sql);
     ResultSet rs = ps.executeQuery()) {

    while (rs.next()) {
        StudyPlan plan = new StudyPlan();
        plan.setId(rs.getLong("id"));
        plan.setStudyDate(rs.getString("study_date"));
        plan.setTopic(rs.getString("topic"));
        plan.setContent(rs.getString("content"));
        plan.setStudyTime(rs.getDouble("study_time"));
        plan.setProgress(rs.getString("progress"));
    }
}
This is the basic process of converting relational database rows into Java objects.
Step 11: Manage Resources with try-with-resources
try (Connection conn = DatabaseConnection.getConnection();
     PreparedStatement ps = conn.prepareStatement(sql)) {
    // execute SQL
}
This automatically closes resources even when an exception occurs.
Step 12: Test the Project
Testing should include database connection, table creation, insert, query, update, delete, and result validation.
try (Connection conn = DatabaseConnection.getConnection()) {
    System.out.println("Database connection successful");
}
Development Time Summary
- database connection and environment setup: about 3.5 hours
- CRUD operation learning and implementation: about 4.0 hours
Recommended Project Structure
src/main/java
  ├── util
  │   └── DatabaseConnection.java
  ├── model
  │   └── StudyPlan.java
  ├── dao
  │   └── StudyPlanDao.java
  └── app
      └── StudyPlanManager.java
Common Problems and Fixes
1. Maven Dependency Not Downloaded
Reload Maven after editing pom.xml and confirm the dependency coordinates are correct.
2. MySQL Connection Fails
Check MySQL service status, host, port, username, password, database name, and firewall rules if remote access is used.
3. Time Zone Error
serverTimezone=Asia/Shanghaior:
serverTimezone=UTC4. Chinese Characters Display Incorrectly
Use UTF-8 connection parameters and utf8mb4 database/table encoding.
5. SQL Injection Risk
Do not concatenate user input directly into SQL. Use PreparedStatement.
Final Conclusion
This Java JDBC project demonstrated the complete workflow of connecting Java to MySQL and implementing simple CRUD operations.
The key learning points were Maven dependency management, JDBC URL configuration, database and table creation, connection utility design, DAO-style CRUD logic, safe PreparedStatement usage, and resource management with try-with-resources.
The final result was a basic but complete study plan manager backed by a MySQL database.
Need Help with a Similar Problem or Project?
This note is based on a real troubleshooting, configuration, or development workflow. If you need help with databases, Linux servers, web applications, desktop software, iOS and Android apps, automation scripts, deployment, or AI development environments, GetModNest can provide practical technical support, troubleshooting, and development assistance.
Email: info@getmodnest.com