Overview
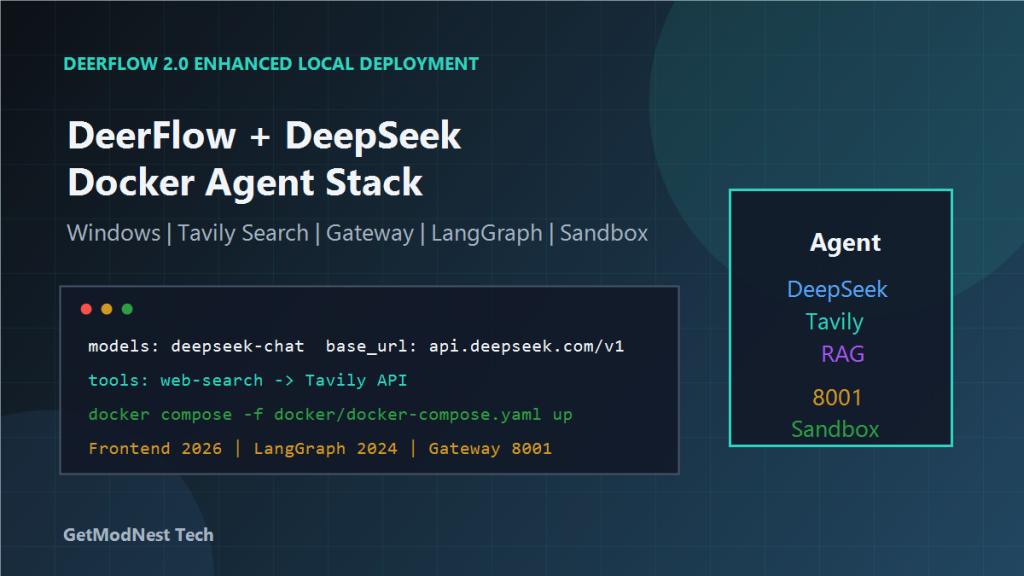
This article documents a Windows local deployment process for DeerFlow 2.0 Enhanced.
The goal was to run DeerFlow locally with Docker, configure an LLM provider, enable web search tools, understand the service architecture, and learn the basic maintenance commands.
The setup covered environment checks, Node.js, pnpm, Python, uv, Docker Desktop, DeepSeek model configuration, Tavily web search, Docker Compose startup, ports, logs, container inspection, cleanup, and RAG usage scenarios.
Environment
- OS: Windows
- Runtime tools:
Node.js,pnpm,Python,uv,Docker Desktop - Main model:
deepseek-chat - Model base URL:
https://api.deepseek.com/v1 - Web search tool:
Tavily - Frontend port:
2026 - LangGraph port:
2024 - Gateway API port:
8001
Step 1: Check the Basic Environment
Before deploying DeerFlow, verify required tools.
node -v
pnpm -v
python -V
uv --version
docker -v
If any command is missing, install the corresponding tool before continuing.
Step 2: Understand the DeerFlow Architecture
The notes describe DeerFlow as a multi-agent system.
Frontend UI
  -> Nginx
  -> Gateway API
  -> LangGraph workflow orchestration
  -> Tools such as search and file operations
  -> Sandbox for code execution
The responsibilities are frontend UI, reverse proxy, backend API entry point, workflow orchestration, tools, and isolated code execution.
Step 3: Configure Environment Variables
The notes used environment variables for API keys.
DEEPSEEK_API_KEY=sk-xxx
TAVILY_API_KEY=tvly-xxx
Never commit real API keys to a public repository. Use .env only for local development and keep it out of version control.
Step 4: Configure the LLM Provider in config.yaml
The model configuration used DeepSeek.
models:
  - name: deepseek-chat
    display_name: DeepSeek V3
    use: langchain_openai.ChatOpenAI
    api_key: ${DEEPSEEK_API_KEY}
    base_url: https://api.deepseek.com/v1
Important fields include model name, display name, provider implementation class, API key reference, and base URL.
Step 5: Configure Web Search Tool
The notes recorded a web search tool configuration:
tools:
  - name: web-search
    group: web
    use: deerflow.community.tavily.tools.web_search
    api_key: ${TAVILY_API_KEY}
This allows DeerFlow agents to call web search when needed.
Step 6: Configure Sandbox Provider
sandbox:
  use: deerflow.sandbox.local.LocalSandboxProvider
The sandbox is used for isolated execution tasks such as running code or processing files safely.
Step 7: Prepare Docker Images
docker pull node:22-alpine
docker pull python:3.12-slim
docker pull docker:cli
These images are useful for building or running the DeerFlow environment.
Step 8: Prepare Configuration Files
copy config.example.yaml config.yaml
copy .env.example .env
copy .env.frontend.example .env.frontend
Then edit config.yaml, .env, and .env.frontend. Make sure API keys and model settings are correct before starting the services.
Step 9: Start DeerFlow with Docker Compose
docker compose -f docker/docker-compose.yaml up --buildAfter startup, open the frontend:
http://localhost:2026If the page opens, the frontend is running. If agent requests fail, check Gateway and LangGraph logs.
Step 10: Common Docker Compose Commands
Start services:
docker compose -f docker/docker-compose.yaml upStop services:
docker compose -f docker/docker-compose.yaml downRestart only the gateway:
docker compose -f docker/docker-compose.yaml restart gatewayCheck containers and status:
docker ps
docker stats
View logs:
docker compose logs -f
docker logs -f deer-flow-gateway
Step 11: Inspect Configuration Inside the Gateway Container
docker exec -it deer-flow-gateway bashCheck backend directory and configuration:
ls /app/backend
cat /app/backend/config.yaml
This helps confirm whether the container is using the expected configuration.
Step 12: Clean and Rebuild the Environment
Remove unused Docker resources:
docker system prune -fRemove the gateway container:
docker rm -f deer-flow-gatewayStop compose services and remove volumes and orphan containers:
docker compose -f docker/docker-compose.yaml down --volumes --remove-orphansUse destructive cleanup commands carefully, especially if local volumes contain data that should be preserved.
Step 13: Understand RAG Usage
The notes mentioned RAG and local knowledge base usage.
Typical RAG scenarios include company internal knowledge base, local document Q&A, semantic retrieval, and generating answers based on retrieved context.
user question
  -> retrieve relevant documents
  -> send retrieved context to LLM
  -> generate grounded answer
This can reduce hallucination and make answers more aligned with the available knowledge base.
Step 14: Internal Access and Port Summary
Frontend: 2026
LangGraph: 2024
Gateway API: 8001
Typical local access:
http://localhost:2026If internal services cannot communicate, check Docker network settings and service names in docker-compose.yaml.
Troubleshooting
1. Frontend Opens but Agent Calls Fail
Check gateway logs, LangGraph service status, model provider configuration, API key environment variables, and network access to DeepSeek API.
2. DeepSeek API Call Fails
Check DEEPSEEK_API_KEY, base_url, selected model name, account quota, and network connectivity.
3. Web Search Does Not Work
Check TAVILY_API_KEY, tool configuration in config.yaml, whether the tool is enabled, and gateway logs.
4. Docker Compose Build Fails
Check Docker Desktop, network access to image registries, image pull status, available disk space, and compose paths.
5. Port Already in Use
netstat -ano | findstr 2026
netstat -ano | findstr 2024
netstat -ano | findstr 8001
Stop the conflicting process or change the mapped port.
Security Notes
Do not expose API keys. Sensitive values include:
DEEPSEEK_API_KEY
TAVILY_API_KEY
BETTER_AUTH_SECRET
If DeerFlow is exposed beyond localhost, add authentication, firewall restrictions, and HTTPS reverse proxy protection.
Final Conclusion
This DeerFlow 2.0 Enhanced deployment created a local Windows-based agent system using Docker.
The core setup included environment verification for Node.js, pnpm, Python, uv, and Docker; model configuration with DeepSeek; web search configuration with Tavily; sandbox configuration; Docker image preparation; Docker Compose startup; service verification; and cleanup/rebuild commands.
The most important lesson is that DeerFlow is not a single-process application. It consists of frontend, gateway, LangGraph, tools, and sandbox components.
Troubleshooting should therefore be performed layer by layer: frontend, gateway, workflow engine, tools, model provider, and Docker runtime.
Need Help with a Similar Problem or Project?
This note is based on a real troubleshooting, configuration, or development workflow. If you need help with databases, Linux servers, web applications, desktop software, iOS and Android apps, automation scripts, deployment, or AI development environments, GetModNest can provide practical technical support, troubleshooting, and development assistance.
Email: info@getmodnest.com