Overview
This article documents a troubleshooting process for a MySQL 8.0 startup failure on Windows.
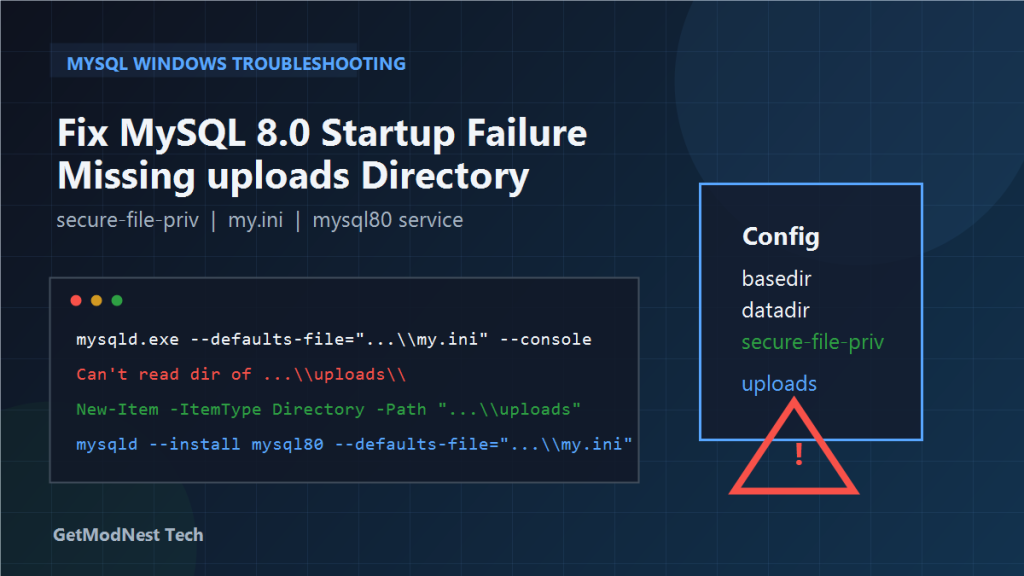
When mysqld.exe was started manually with the configured my.ini file, MySQL failed during initialization and reported that it could not read the directory specified for file upload restrictions.
The issue was traced to a missing uploads directory referenced by the secure-file-priv setting in my.ini. After creating the directory, verifying the configuration file, and reinstalling the Windows service with the correct configuration path, MySQL could be started normally again.
Environment
- OS: Windows
- Database: MySQL 8.0
- MySQL binary path:
D:\Program Files\MySQL\MySQL Server 8.0\bin\mysqld.exe - MySQL configuration file:
D:\ProgramData\MySQL\MySQL Server 8.0\my.ini - MySQL data directory:
D:\ProgramData\MySQL\MySQL Server 8.0\Data - Directory involved in the startup failure:
D:\ProgramData\MySQL\MySQL Server 8.0\uploads - Windows service name:
mysql80
Problem
When trying to start MySQL manually, the following command was used:
mysqld.exe --defaults-file="D:\ProgramData\MySQL\MySQL Server 8.0\my.ini" --consoleMySQL failed to start and reported an error similar to:
Can't read dir of 'C:\ProgramData\MySQL\MySQL Server 8.0\uploads\' (OS errno 2 - No such file or directory)This indicated that MySQL was trying to access a directory defined in its configuration, but that directory did not exist on disk.
Root Cause
The startup failure was caused by the secure-file-priv setting in my.ini.
This option restricts file import and export operations to a specific directory. If the configured directory does not exist, MySQL may fail to start correctly.
In this case, the configured path pointed to an uploads directory under:
D:\ProgramData\MySQL\MySQL Server 8.0\uploadsbut that directory had not been created yet.
Step 1: Create the Missing uploads Directory
The first fix was to manually create the missing directory in PowerShell.
Example command:
New-Item -ItemType Directory -Path "D:\ProgramData\MySQL\MySQL Server 8.0\uploads" -ForceThen confirm that the directory exists:
Get-ChildItem "D:\ProgramData\MySQL\MySQL Server 8.0\"If the uploads folder appears in the listing, the first part of the issue has been fixed.
Step 2: Verify the my.ini Configuration File
Open the MySQL configuration file and check the path settings:
notepad "D:\ProgramData\MySQL\MySQL Server 8.0\my.ini"The important section should be reviewed carefully.
A representative example looks like this:
[mysqld]
basedir="D:/Program Files/MySQL/MySQL Server 8.0"
datadir="D:/ProgramData/MySQL/MySQL Server 8.0/Data"
secure-file-priv="D:/ProgramData/MySQL/MySQL Server 8.0/uploads"
Make sure that:
basedirpoints to the actual MySQL installation directorydatadirpoints to the real data directorysecure-file-privpoints to a directory that really exists- path separators and quotation marks are correct
Step 3: Test MySQL Startup Manually
After creating the directory and checking my.ini, start MySQL manually again:
mysqld.exe --defaults-file="D:\ProgramData\MySQL\MySQL Server 8.0\my.ini" --consoleIf no error appears, it means the configuration problem has likely been resolved.
If MySQL starts in the foreground successfully, stop the temporary process with:
Ctrl + CThis is only needed if you started mysqld.exe manually for verification.
Step 4: Reinstall the Windows Service with the Correct Configuration
If the Windows service configuration may have been pointing to an incorrect or outdated setup, reinstalling the service can help ensure that it uses the correct my.ini file.
Stop and remove the existing service:
Stop-Service mysql80 -Force
mysqld --remove mysql80
Step 5: Reinstall the Service
Install the service again and explicitly specify the correct configuration file:
mysqld --install mysql80 --defaults-file="D:\ProgramData\MySQL\MySQL Server 8.0\my.ini"This ensures that the service starts with the intended MySQL configuration.
Step 6: Start the Service Again
Start the reinstalled service:
Start-Service mysql80Then verify its status:
Get-Service mysql80If the service shows a running state, the startup issue has been resolved.
Step 7: Test MySQL Login
After the service is back online, test the MySQL client:
mysql -u root -pIf the login prompt appears and authentication succeeds, both the service and configuration are working normally again.
Why secure-file-priv Matters
The secure-file-priv option controls which directory MySQL can use for file-based operations such as:
LOAD DATA INFILESELECT ... INTO OUTFILE- other controlled import / export tasks
If this path points to a directory that does not exist, MySQL may reject the configuration or fail during startup checks.
That is why even a simple missing folder can prevent the service from starting.
Troubleshooting Checklist
- Does the
uploadsdirectory actually exist? - Does
secure-file-privpoint to the correct path? - Are
basediranddatadirconfigured correctly? - Is the service using the correct
my.inifile? - Was the service installed with an outdated configuration path?
- Can
mysqld.exe --consolestart successfully when run manually? - Are there any path typos, quotation problems, or slash direction issues in
my.ini?
Summary
The effective recovery path in this case was:
- identify the startup error related to the missing
uploadsdirectory - create the directory manually
- verify the
secure-file-privpath inmy.ini - test startup with
mysqld.exe --console - stop and remove the old
mysql80service if necessary - reinstall the service with the correct
--defaults-file - start the service again and test login
The key lesson is that MySQL startup failures on Windows are not always caused by datadir problems or corrupted data files. In some cases, a missing directory referenced by secure-file-priv is enough to block service startup completely.
Need Help with a Similar Problem or Project?
This note is based on a real troubleshooting, configuration, or development workflow. If you need help with databases, Linux servers, web applications, desktop software, iOS and Android apps, automation scripts, deployment, or AI development environments, GetModNest can provide practical technical support, troubleshooting, and development assistance.
Email: info@getmodnest.com